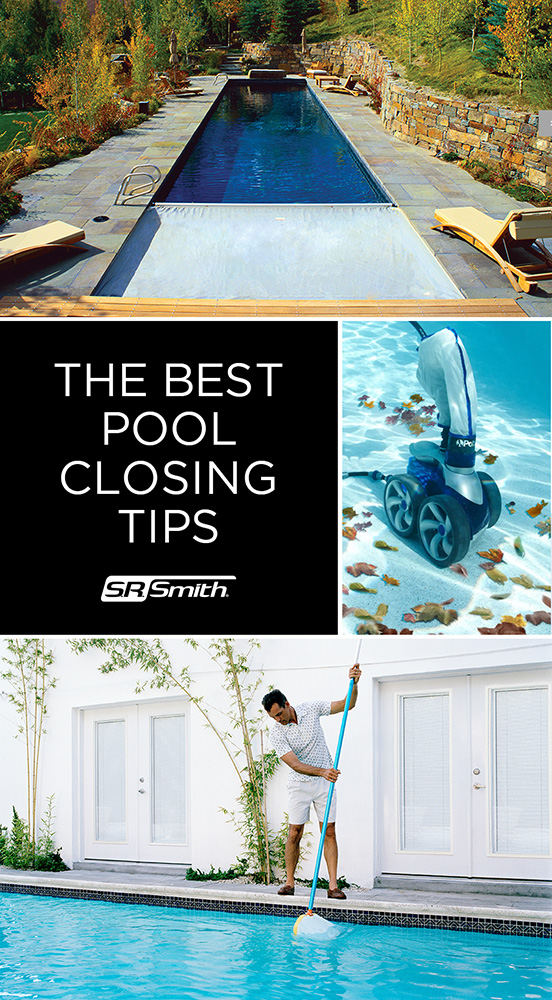
The Best Pool Closing Tips
Closing your pool is a necessary step each fall to ensure the protection of your pool equipment and water quality during the cold winter months. Following the correct steps during this process can ensure that your pool is in optimal condition when the next swimming season begins. Here are six best tips for closing your pool:
1. Clean Out the Pool
Before closing your pool, make sure to clean it thoroughly. This includes removing all debris such as leaves, twigs, and other debris. Regularly cleaning the pool bottom and edges can reduce the accumulation of dirt, preventing them from affecting water quality during the closing process.
2. Balance the Water
Checking and balancing the water quality is crucial before closing your pool. Use testing tools to measure the pH, alkalinity, and chlorine levels in the water. Ensure that the water quality is within the ideal range to prevent water quality issues from worsening during the winter months.
3. Remove Pool Equipment
Before closing your pool, be sure to remove all pool equipment such as the submersible pump, filter, and automation equipment. Clean and store these devices to prevent damage from prolonged non-use during the winter.
4. Lower the Water Level
Lowering the water level to an appropriate height is necessary before closing your pool. It is generally recommended to lower the water level to several inches below the pool edge. This prevents damage to the pool edge from freezing during the winter.

5. Drain Pump and Heater
Before closing your pool, ensure that the pump and heater are thoroughly drained. This prevents the pump and heater from being damaged by freezing during the winter, thereby extending their lifespan.
6. Protect Your Pipes
Finally, ensure that your pool pipes are protected from freezing. Before closing your pool, drain the water from the pipes and use insulation materials or heaters to protect the pipes from the effects of cold weather.
7. Maintain Your Pool Lights
Swimming pools may or may not be drained completely. If not drained completely, the water level should be lowered below the LED pool light and make sure that all water is drained from the wall fitting and conduit.
NOTE – If water is trapped in conduit, damage may occur from freeze expansion.
The LED pool light 12-45W Mercedes-Benz colorful remote control ABS will need to be unthreaded (completely disengage the threads) from the wall fitting and left to rest in the fitting. Alternatively, the S.R.Smith micro pool light may be removed completely, the conduit purged of all water, and water level left below the fitting.
The LED pool light colorful 12V may be removed completely, the conduit purged of all water, and a 1 1/2” NPT male plug with thread sealing tape may be used to close the wall fitting.
The LED pool light colorful remote control IP68 waterproof 12V may be disengaged from the niche and brought up to the deck and secured under a sturdy covering for the winter period. Alternatively, the kēloXL may be disengaged as before but if enough cord has been left in the niche, the light may be sunk to the bottom of the pool during the winter season. Weights may be needed to hold it place.
For the LED pool light colorful remote control ultra-thin 12V, remove the Lamp Module and let the water drain out, then replace the Lamp Module. This will require that the water level to remain below the wall fitting level for the duration of the ‘winter’ season. Alternatively, the LED pool light RGB colorful waterproof 12V may be removed completely, the conduit purged of all water, and the custom 1½” Threaded Hole utility plug with triple density, PTFE thread sealing tape may be used to close the wall fitting. As there are differences in wall fitting types in both new or used condition, the wall fitting should be inspected to determine the suitability of the custom 1½” Threaded Hole utility plug and it’s ability to seal the fitting. DO NOT USE a standard ‘Off the shelf’ threaded plug part as the deeper depth may damage the Power
Maintaining your pool lights is essential to prolong their lifespan and ensure they function properly when the next swimming season begins. By following the above advice, you can confidently navigate through the winter while protecting your pool equipment.
If you have any questions or need further advice, feel free to contact our professional team. Wishing you a pleasant winter and looking forward to the next swimming season!
